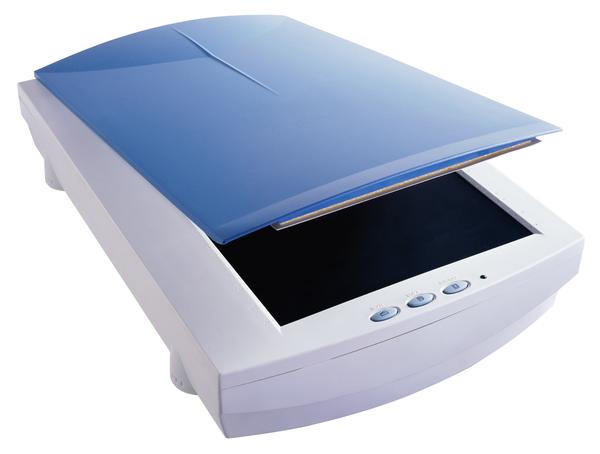
These days all the photography is either done through the mobile camera or through some pretty cool digital cameras that offers excellent image quality and various other options that can help you to enhance the photos that you have taken.
But what about the good old photos that you had printed out and are in your old photo album? Don’t you want to digitize them and preserve them for all time to come? Memories are important and one picture can express thousand words.

So for this purpose we have prepared a guide that will help you to make excellent digital copies of your old printed photographs and make them look better than the original copy.
How To Use Windows Fax And Scan
Windows Fax and Scan is a basic program that is included in Windows 7 and will allow you to scan any photograph without requiring any special software.
- Before you start scanning the picture select the color format as grayscale to get best results
- The DPI will be set to 300 which is a good pixel density for scanning printed pictures
- Make sure to place your photograph at the edge of the flatbed lip
- Now select the format in which you want to save the scanned file. So select TIFF or PNG which gives the best result without any artifacts or disrupting the image quality.
- Never use JPG to scan files because it disrupts the quality of the image. Only use JPG when you want to email the pictures.
Using Your Scanner Driver
For the purpose of this guide we have used the Epson scan because we had this one available to us. The options and settings will be same across other scanner driver so be sure to follow this guide to the letter.
- Once you launch your scanner driver you will notice that most of the option will be set at default.
- If you get the option for scanning in 24bit color then you should select it because picture files are always in 24bit color.
- Always select 300 DPI as your scanning resolution anything larger than that is always used for enlargement of the picture.
- Before you start your scan you should find out the option which will allow you to adjust the color levels and saturation which will help you to improve the image quality of the scanned picture.
- You can use Photoshop or GIMP in scanning your picture because they offer many adjustment tools such as “Selective Color” which can help you to repair the problems that were present in the printed picture
- Now you can adjust the picture and compare it with the scanned photograph and then finally click on scan to make the new scan of the image with all the adjustments that you have made.
- Make sure to save the file in either TIFF or PNG format to preserve the maximum detail and never use JPG for saving scanned files.
We hope the guide has been helpful to you in preserving your old photographs in excellent quality. Do let us know if you know of any other way that can help you to enhance the quality of scanned images.

Speak Your Mind