Enabling static DHCP in your home network is very beneficial because it becomes easier for port forwarding and also you can access your computer on the network from anywhere.
DHCP will also help you to set up your home network easily. This guide will help you to configure a static DHCP on any router if you follow the instructions.
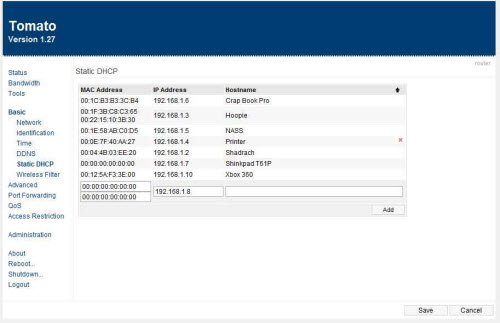
This guide is primarily written by using the DD-WRT Router on which the static DHCP is being configured. The procedure should be same if you own any other brand of router.
Before we get started let’s make one thing clear, DHCP helps you to configure the computer on your network by assigning them an IP address on a first come first basis which makes the entire networking solution very easy.
The problem with this is that configuring the port forwarding becomes difficult because you don’t have a static IP and the IP keeps on changing every time you connect to the network. So to get around this problem you need to enter a static DHCP address.
DD-WRT router uses the MAC address of your network card against which you can assign an IP address and which will not be wiped off even if you restart the router.
Finding the MAC Address:
- Click on your network connection panel on your start menu
- Then click on network and sharing center
- Then click on the connection which is usually named local area connection and it will open a box showing the duration of your connection and amount of data transferred.
- Click on details and to view the MAC address of your network card which you can find under physical address.
- If you are on wireless network then click on network button and right click the WI-FI to which you are connected to and click on status.
- Then click detail and see the physical address field for your MAC address
Enabling Static DHCP:
- Go to your router homepage by typing the IP of your router into the browser address bar. For this purpose we are using a DD-WRT router interface
- Click setup then under the basic setup tab check whether DHCP is turned on or not. If it’s disabled then enable it.
- After you enable it scroll down to Network Address Server Settings and enter a static IP which can be between 192.168.1.100 to 192.168.1.200
- After you have entered the static IP of your choice then click the service tab which is at the top
- In this section you will notice a DHCP server part and at the bottom you will see a ADD button so click on it
- Enter the MAC Address of your network card which you obtained from network and sharing center, enter a name so that you can easily recognize and enter the IP address.
- Make sure to enter a different IP for different MAC address if you are having more than one computer on your network
- You are done and make sure to click on save and exit
- Now you don’t ever have to configure the IP if your router restarts because the computers on the network will stick to the IP you have assigned and as a result port forwarding will work like a breeze.
There you have the guide for setting up port forward along with static DHCP. This guide can be used for any kind of router just make sure you’re in the right page of your router settings and entering the correct information.
Speak Your Mind