Having a Facebook page is one of the major needs of most entrepreneurs in marketing their products and/or services. However, most of them managed to stick with the typical way of having a Facebook page without even thinking that they can actually personalize its URL making it more unique and attractive to the eyes of consumers. By branding a Facebook URL, you will have your own identity and including it on flyers and other print ads will be easier to be remembered.
Since personalizing the Facebook page URL is now allowed, you will never forgive yourself being left behind. In this tutorial, you will be taught on how to change the Facebook page URL depending on your desire. This will just take less than 15 minutes depending on your ability to understand and your internet connection speed.
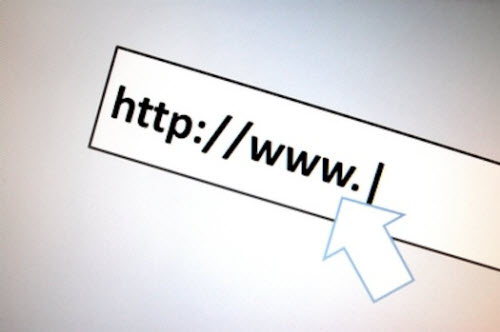
The 2 URLs of Facebook page below are 2 types of URLs. The first one is obviously NOT the branded or personalized one and the second one is the personalized one. Well, the second one looks lovelier, isn’t it?
Change Facebook Page URL
First, login to Facebook. Type in your Username or Email Address and password as well. When redirected to your typical profile page, hit the inverted triangle at the upper right corner of the screen and hit the name of your Facebook page.
Then, you will now redirected to your actual Facebook page profile. Now from there, look for the button of “Admin Panel” and click it. It will allow you to Admin’s access page of the Facebook page. After getting there, click the “Manage” button then “Edit Page”.
On the “Edit Page” window, there are lots of options which can help you personalize or beautify your very own Facebook page. Now, click on the “Basic Information” button at the left. It will redirect you to another window.
Now, on that new window, click the “Click a username for this page?” which will now allow you to formulate a personalize name which will be included on your Facebook page URL. Another window will appear which is titled with “Each Page can have a username”. Beside the Page Name, type in your desired username for your Facebook page on the space provided.
Once done having your username, the image provided be the model and look of your new Facebook page URL.
Now, the image provided is the sign that your username is now finally active. That will be the start of the new look of your Facebook page URL. Once this window appears, just click the “Confirm” button to save all the changes. If you wish to change again the Facebook page URL, then you should be aware that it is NOT allowed. Be very careful with the misspelling as this is the most common issue. This is part of the security measures provided and imposed by The Facebook management.
By having a personalized Facebook page URL, it will be easier for you to cater your products and services. Also, the brand name of your store will be more popular as it will be used on your Facebook page URL.
Speak Your Mind