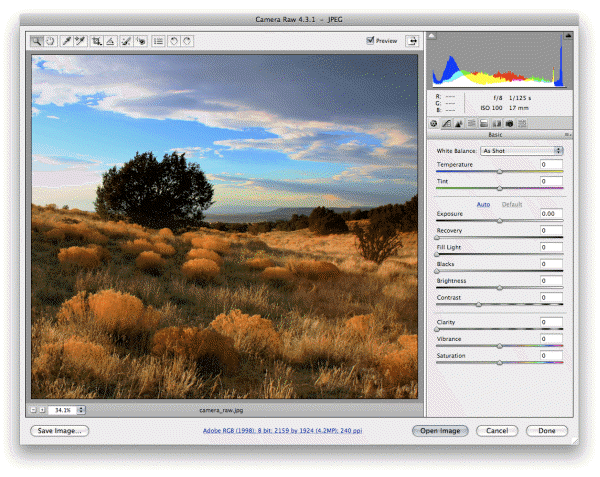
Taking photographs with High End DSLRs allows you to use lot more options than an ordinary digital cameras so as a result you can improve on the quality of the image that you have captured.
But if you have selected the saving format as JPG you might have just ruined your day. But if you are saving as RAW images then you will get more flexibility with editing the images.

What is RAW Camera Image? Well they are nothing but digital negatives that are saved in a proprietary format that will enable you lot of editing. You can use adobe photoshop to process the RAW image but you need to purchase some additional tools to process the RAW images.
So we have written a guide for you that will allow you to process RAW images without paying extra for adobe photoshop in fact without paying anything at all.
Using RAW Therapee
RAW Therapee is free software for editing raw images and the version that you can download is 2.4.1 from their official site.
- After you launch raw therapee look at the bottom left and browse to the folder where you stored the RAW images. Double click the folder to load the images
- All the images in the folder will be displayed in the form of strip which will allow you to browse the file you want to develop
- Right click the image you want to develop and click on open to begin developing the RAW image file
- Locate the color tab and set the color temperature to 5000K which is considered as Natural Daylight. Any value below 5000K is considered as cooler and value above 5000K is warmer. So adjust according to when and where you shot the photograph.
- Now go to the Exposure Tab on right side of color tab and adjust the different values and see the result on your image. You can adjust till what feels right to you.
- As you adjust keep an eye on the histogram to achieve the richest color result
- You can also use the shadows/highlights and luminance curve tabs to further tweak your image to get the best possible result
- If you have achieved the image to your liking then you should stop tweaking because anymore tweaking will ruin the image.
Saving the Tweaked Image
- After you are satisfied with the image you can use the Save As button on the right side to save as either PNG or JPG.
- Now you need to apply all the tweaking to the image before saving it so locate a gear like icon above the processing panel and click it to switch to the processing queue view.
- Now click on start processing and after it is done your image will be saved on the format you chose.
- The raw image will still be there and you can tweak and save it in different formats.
We hope the guide has been helpful to you and now you are able to process and produce excellent images like a professional. Do let us know if you come across any other method for processing RAW Image.

Speak Your Mind